Adding your 360 Degree Virtual Tour Photos to your Website
Adding to your website pages – You now have your amazing Google business View Virtual Tour and it looks fantastic, now let all your friends and more importantly potential clients see it as well on your websites.
Adding your virtual tour to your website takes minutes and takes minimal website expertise to complete. if you feel that this process is beyond you then please advise your website administrator or host to have a loo at this page and they will be able to integrate the virtual tour for you.
Step 1 – Find your virtual tour Iframe code
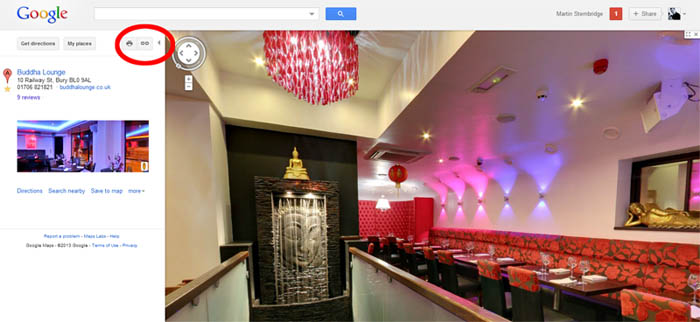
Open your program that you use to surf the net and navigate to your virtual tour. Now click the chain icon on the top left hand side (see image below).

Find Virtual Tour iFrame Code
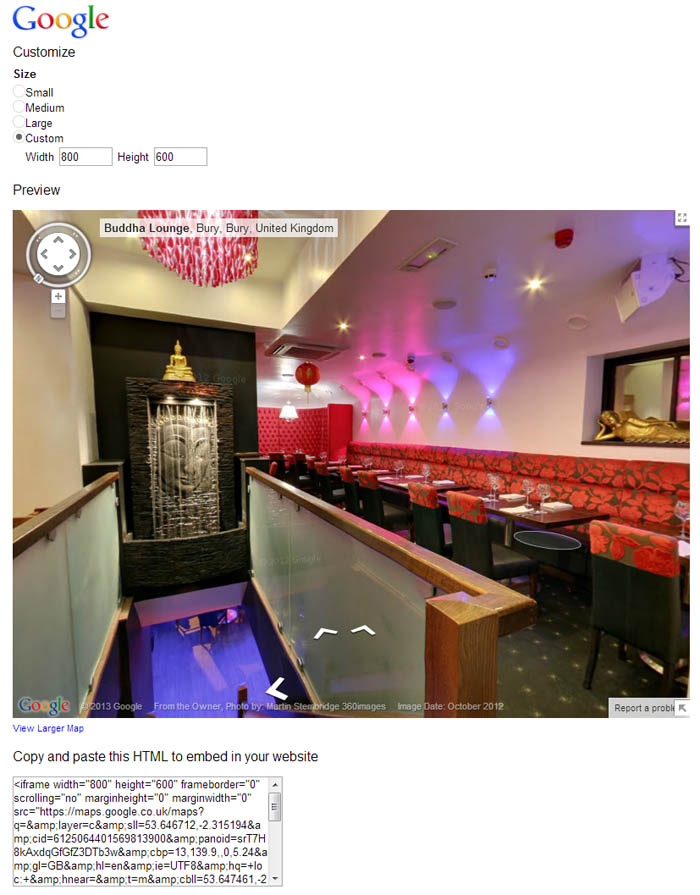
A menu will appear that will give you options to either copy the URL or the “iFrame” code. At the bottom of the window is a link to “Customise and preview embedded map”, select this option. Select “Custom Size” and then set the width and height to your specific requirements. (See image below).

Move the Google Business Photos tour until you have the exact view that you would like to present to potential customers. When you have the location you want to add to your website then copy the iFrame code and close the internet browser window.
Step 3 – Embed the code into your website
Now paste the code into the html code of your website where you would like the virtual tour to be displayed. Then save the file and upload it to your server.
Step 4 – Tell the World !!!
Make sure it displays correctly on as many different platforms as you can and then go tell all your friends !!!!!
